
There are 6 steps required to successfully configure pageview tracking:
- Create a new Google Tag Manager (GTM) container.
- Add the Google container ID to the diary settings.
- Create custom variables.
- Create a custom trigger.
- Create a new tag.
- Preview and test.
Important: you can skip the first 2 steps if you have already created a container with a GA tag.
Step 1 Create a new GTM Container
Log in to your Tag Manager account at tagmanager.google.com where you will be presented with a list of your current containers. Click on the three ellipses at the top right hand corner and choose ‘Create Container’

Enter a container name of your choice and choose the Web type.

Step 2 Add the Google container ID to your diary settings
Note the ID of your new container (GTM-xxxxxx) and in your diary go to:
Settings > Reservations > Widget Tracking
Choose Tag Manager as the Tracking Type and enter the ID of your new container:

Step 3 Create custom variables
Return to Google Tag Manager and click on the newly created container in your containers list to go to the container workspace.

On the left-hand sidebar, click on Variables and then click on the New button in the User-Defined Variables section:

Then click on the icon in the Variable Configuration section and choose a Data Layer Variable from the list of variable types:
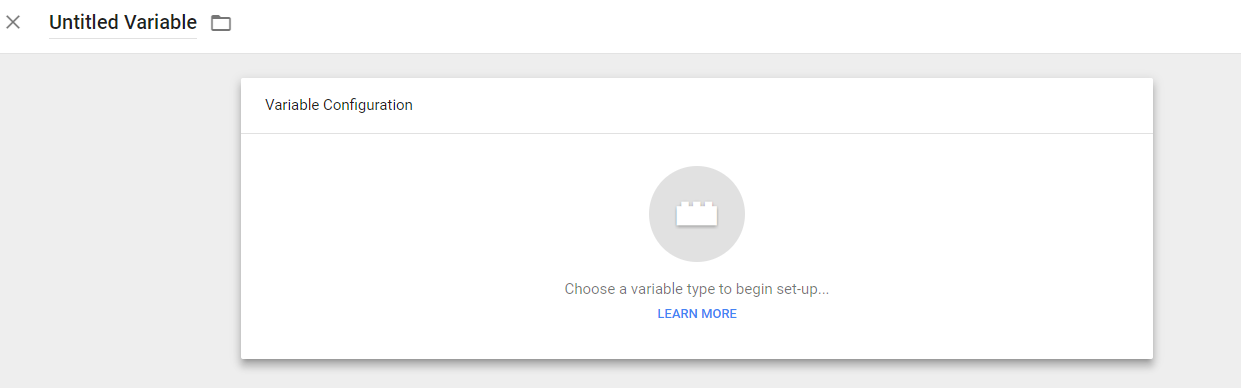

Then configure the variable as follows:

Important: Variable names are case sensitive.
Repeat the steps above to create a second custom variable named virtualPageTitle.
Step 4 Create a custom trigger
On the left-hand sidebar, click on Triggers then click on the New button and finally click on the icon in the Trigger Configuration section:
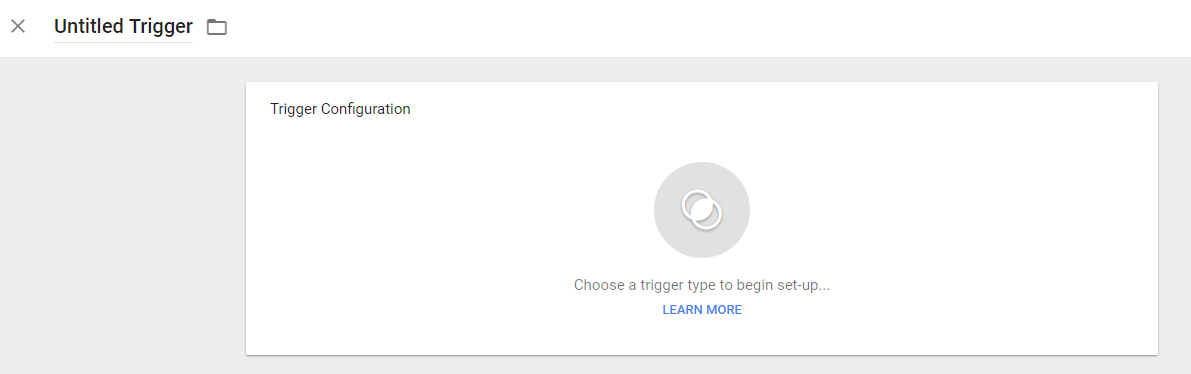
Choose Custom Event from the list:

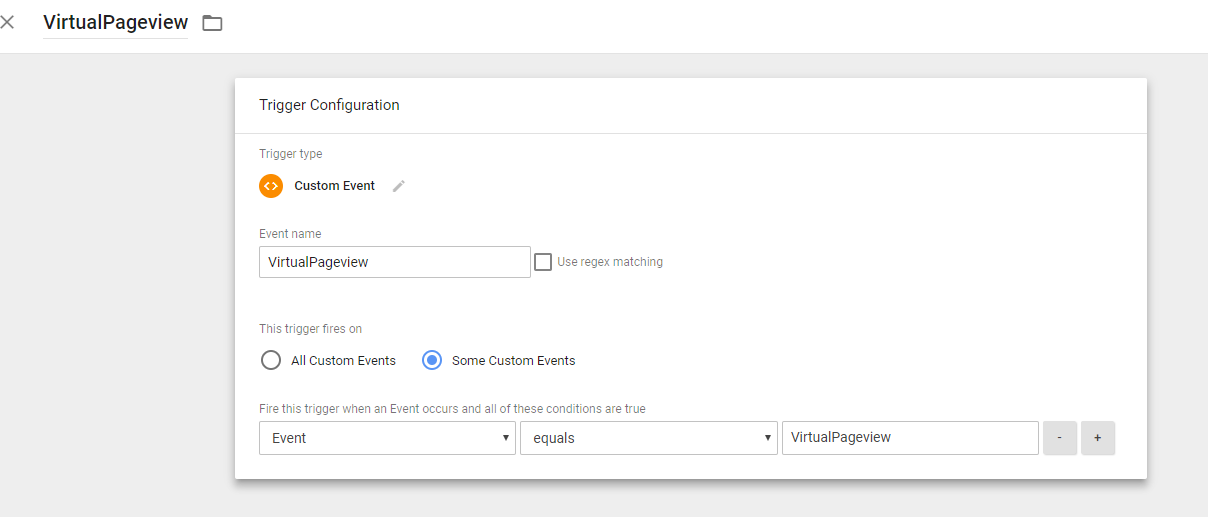
Complete the configuration as follows:
Step 5 Create a new tag
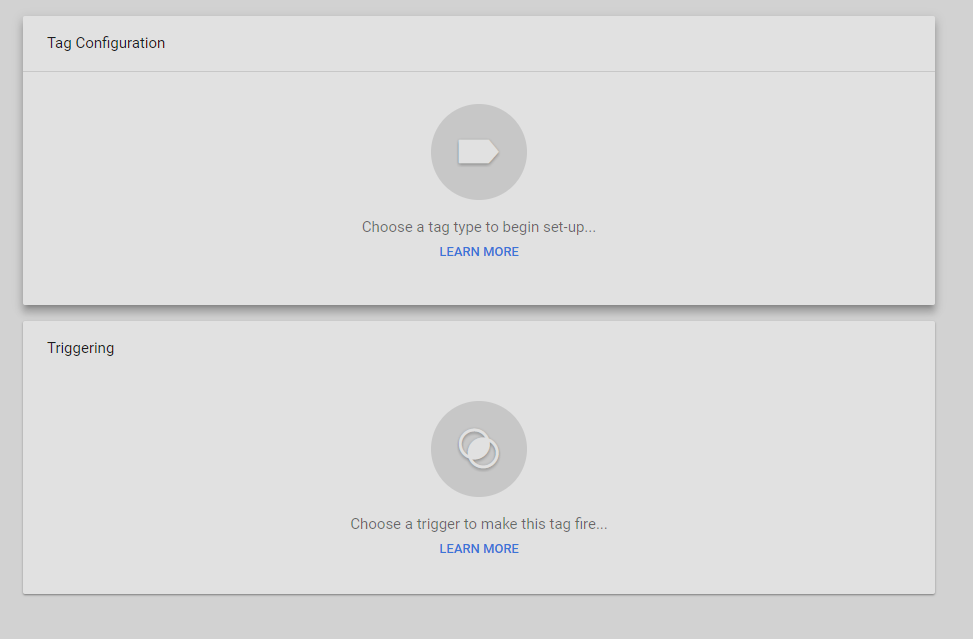
On the left-hand sidebar, click on Tags then click on the New button and finally click on the icon in the Tag Configuration section:
Select Universal Analytics from the Tag Types list:

Configure the tag as below, selecting ‘New variable…’ from the Google Analytics settings dropdown.

Configure the new variable as follows, entering your own Analytics Tracking ID:
Important: please specify the actual Analytics Tracking ID (not a user-defined variable) e.g UA-XXXXXXX
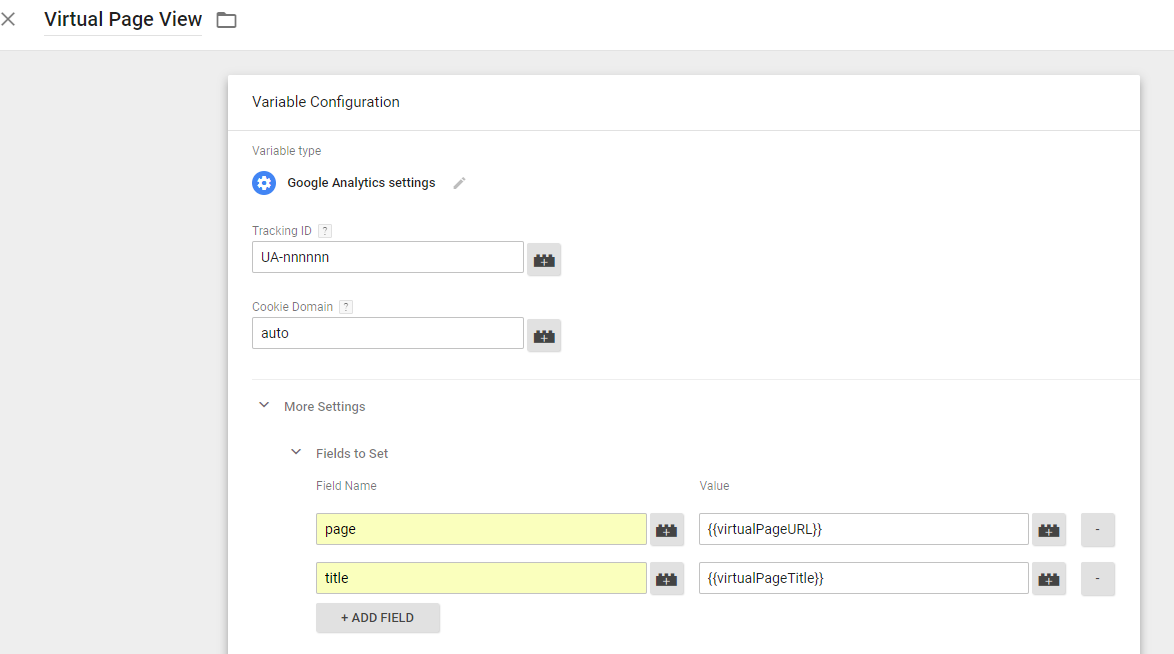
Finally, click on the Triggering icon and chose the custom VirtualPageview trigger created earlier:

Step 6 Preview and test
Click on the Preview button in the Tag Manager workspace and then, in another browser window, load the page that contains the widget to be tested. Create a booking in the widget and as you proceed through the booking process you should see that a Virtual Page View event is fired on each page:

virtualPageURL and virtualPageTitle are not the only variables sent to GTM during the booking process. The other variables are available depending on the step of the booking process. These can be injected the same way as virtuaPageURL and virtualPageTitle, depending on your needs. The complete list is as follows:
virtualPageURL | virtualPageTitle | restaurantName | covers | visitDate | visitTime | reference |
| /resdiary-widget/venueSelection | Select a venue | undefined | undefined | undefined | undefined | undefined |
| /resdiary-widget/initial | Select covers, date and time | YourMicrositeName | undefined | undefined | undefined | undefined |
| /resdiary-widget/promotion | Select a promotion | YourMicrositeName | 2 | 6 December 2017 | 12:15 | undefined |
| /resdiary-widget/contact | Enter contact details | YourMicrositeName | 2 | 6 December 2017 | 12:15 | undefined |
| /resdiary-widget/confirmation | Confirm booking request details | YourMicrositeName | 2 | 6 December 2017 | 12:15 | undefined |
| /resdiary-widget/success | Booking was successful | YourMicrositeName | 2 | 6 December 2017 | 12:15 | RD12345 |
| /resdiary-widget/payment | Enter credit card details | YourMicrositeName | 2 | 6 December 2017 | 12:15 | undefined |
| /resdiary-widget/error | Error details | YourMicrositeName | undefined | undefined | undefined | undefined |
- undefined means the information is not available/selected at that point of the booking process. This is the value you will receive and it's up to you how you want to handle it.
- virtualPageURL and virtualPageTitle will always have specified values.
- restaurantName, covers, visitDate, visitTime, and reference values will depend on your widget and the booking. The above table shows just example values.
Step 7 Set up Google Analytics goal
Go to your google analytics property > admin panel > Goals > create a new goal with the following parameters:
